Python Based Flask Application


Table of contents
- Create Infrastructure Using Terraform
- Login to your AWS account and access your Infra
- Set up Nginx to serve the application on port 80
- Install the SSL Certificate and Let's Encrypt the app
- Adding SSL Paths in Configuration file
- Automate the Process Using CICD tool Jenkins
- Create Jenkins Pipeline to the the flask-app job
Create Infrastructure Using Terraform
Install the Terraform in your system first and then We are going to create one AWS resource EC2 Instance with new security group.
provider "aws" {
region = "ap-south-1"
access_key = "Put your access key here"
secret_key = "Put your secret key here"
}

Now you can run terraform commands and validate your code.
terraform init :- Terraform init command is used to initialize a working directory containing terraform configurations files. You can run this commands multiple times. This command will never delete your existing configuration or state.
terraform validate:- The Terraform validate command validates configuration files in a directory.
terraform plan :- The Terraform plan command is used to create an execution plan.
terraform apply:- The Terraform apply command is used to apply the changes required to reach the desired state of the configuration file.
terraform destroy:- The Terraform destroy command is used to destroy the terraform managed infrastructure (It will delete the infra)
Once you run the terraform apply command it will create the infra for you in your cloud with some extra files like state file, backup file.

Login to your AWS account and access your Infra

as per terraform configuration file it has created Flaskinstance for us.
Connect to the Instance through putty and try to build your Python based flask application.
Once you connect to the EC2 Instance run below commands or shell script to install python and its dependencies.
Lets go and write one simple script.

This script will install python3, pip and then install flask.
Now go to the path /home/ubuntu/ and create one directory for the project
mkdir python-project

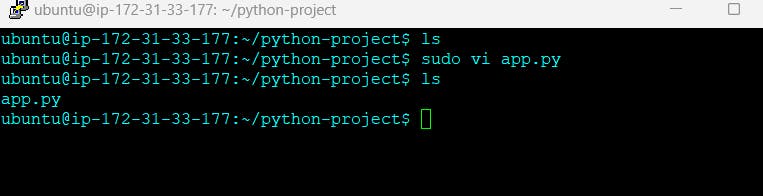
Go inside the directory that you have created and then try to create files for your application.
Let's create app.py file first.
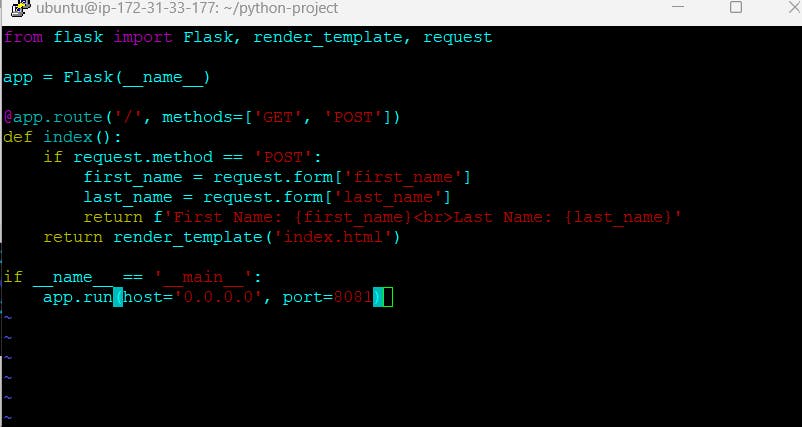
Using this code you are able to write your first name and last name and it will display the same.
So as per code our application is running on local host with port no 8081. Do not forget to open this port number into the security group of your EC2 instance.
Now create one more directory and inside that directory you need to create your index file.
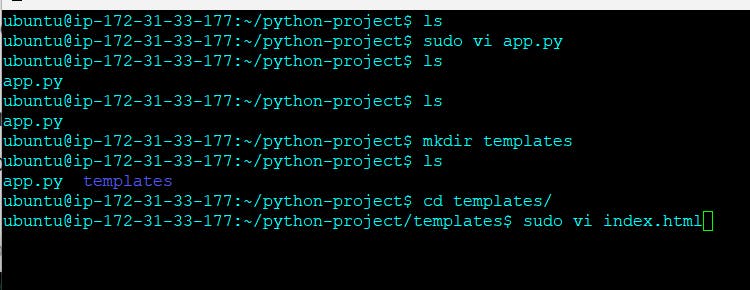
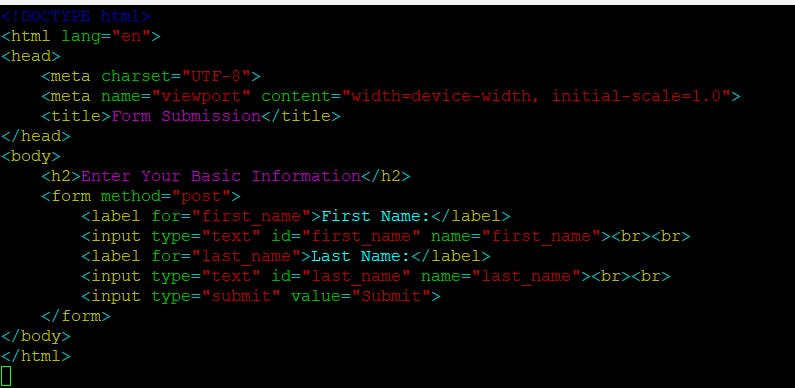
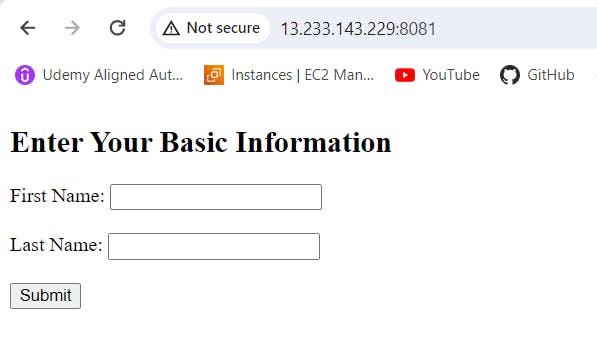
This index file will give you user interface where you will see enter your first name and last name inputs and the submit button.
Let's run the app.py file so you will able to connect and access your application.
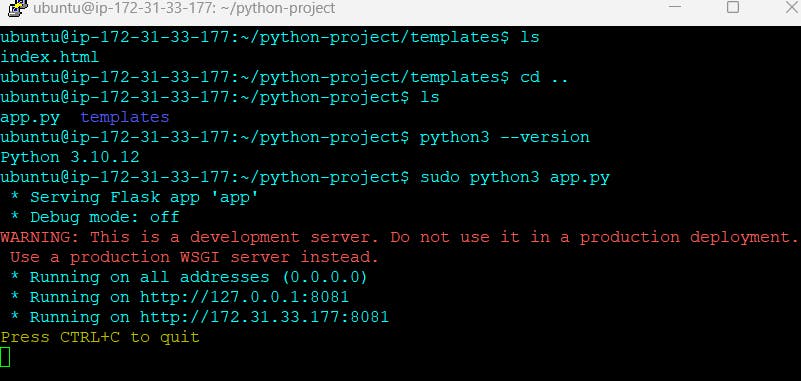
Now you are able to access your application locally.
Set up Nginx to serve the application on port 80
Let's install the nginx first.

Just perform these 2 commands and your nginx will be installed in your system.

Now go to the below path and try to run your application on nginx port no 80.
Create a file named flask-project inside /etc/nginx/sites-available

Activate this configuration by executing below command
sudo ln -s /etc/nginx/sites-available/flask-project /etc/nginx/sites-enabled
This command will create the link and paste flask-project file in /etc/nginx/sites-enabled.
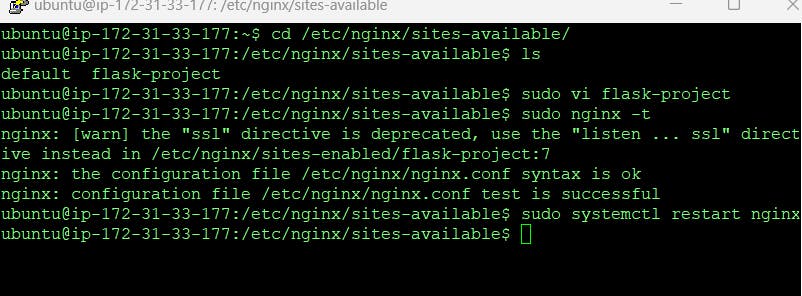
Now run the below command so that you will get idea whatever you have mentioned in the configuration file it is correct or not. "sudo nginx -t" and then restart the nginx service with the command "sudo systemctl restart nginx"
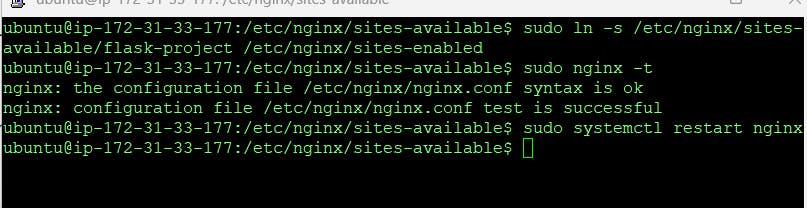
Once you restart the nginx service your application will running on nginx port no 80.

Install the SSL Certificate and Let's Encrypt the app
Let's encrypt the our app. To do this we need to install few things in our system first.
We need to generate open certificate so that we can encrypt our flask application.
Run the below commands and it will generate the certificates for you.
"sudo apt install openssl"
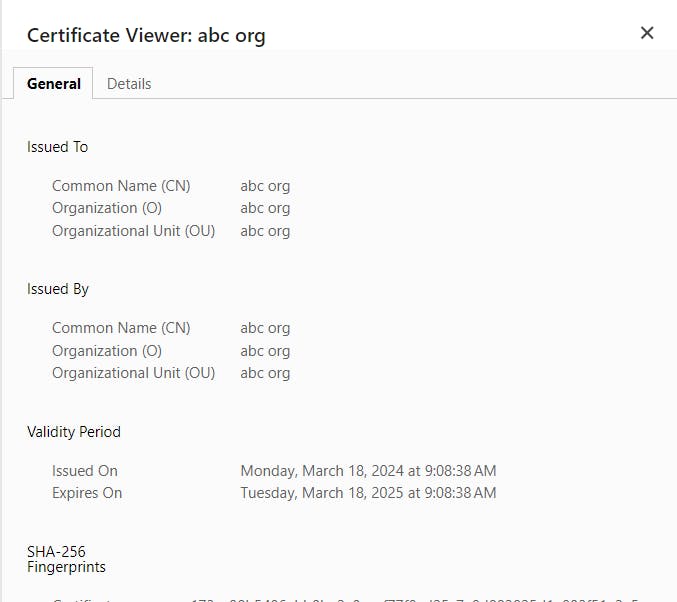
"sudo openssl req -x509 -nodes -days 365 -newkey rsa:2048 -keyout /etc/ssl/private/nginx-self-signed.key -out /etc/ssl/certs/nginx-self-signed.crt"
Once you will run these 2 commands it will ask you few thing as shown in below. Please enter all the details and proceed.

Adding SSL Paths in Configuration file
Go to the below path where you create flask-project file and add the SSL related paths.

Now check if code is properly working or not. Use command "sudo nginx -t" and then restart the nginx service using command "sudo systemctl restart nginx"
Now your application will runs securely, make sure that port no 443 will be open in the security group of EC2 instance.

Automate the Process Using CICD tool Jenkins
To install the Jenkins you need to install Java first.
Let's do it. Write a script and add all the commands in that script.

You have to give executable permission using command "chmod 700 java_jenkins_installation_script.sh"
Now you are able to run the script. This will install java and Jenkins in your EC2 instance.

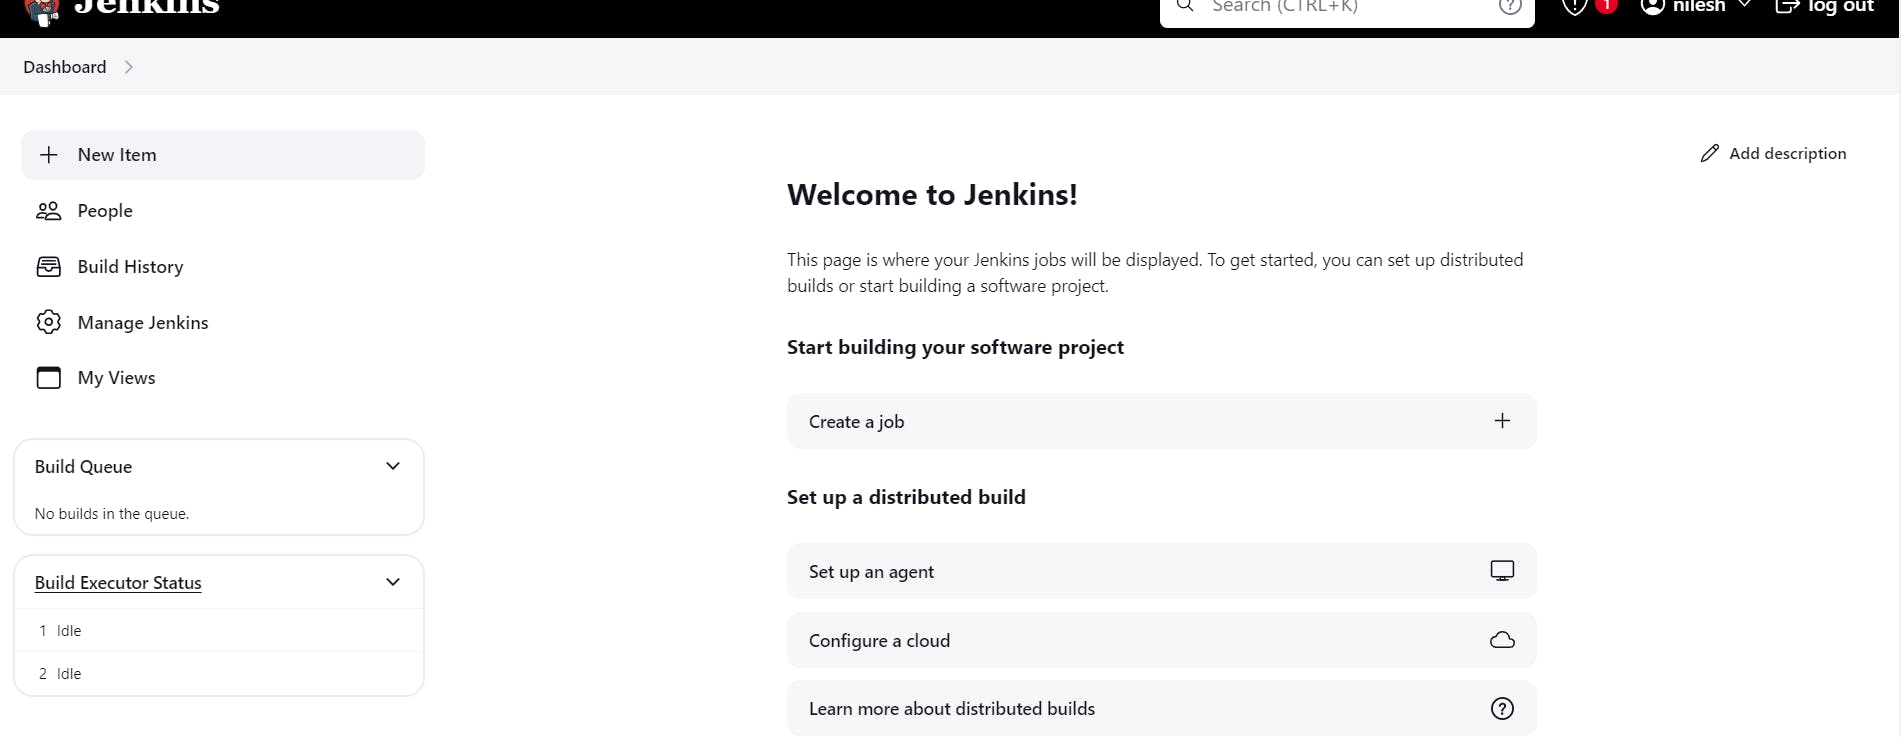
Now let's access the Jenkins now using server IP address.
Jenkins is runs on port no 8080. So make sure that 8080 port no must be open on security group of your EC2 instance.

For password just open the mentioned path and you will get password for the same.

Now create one job and add git repo and trigger the job using poll SCM.
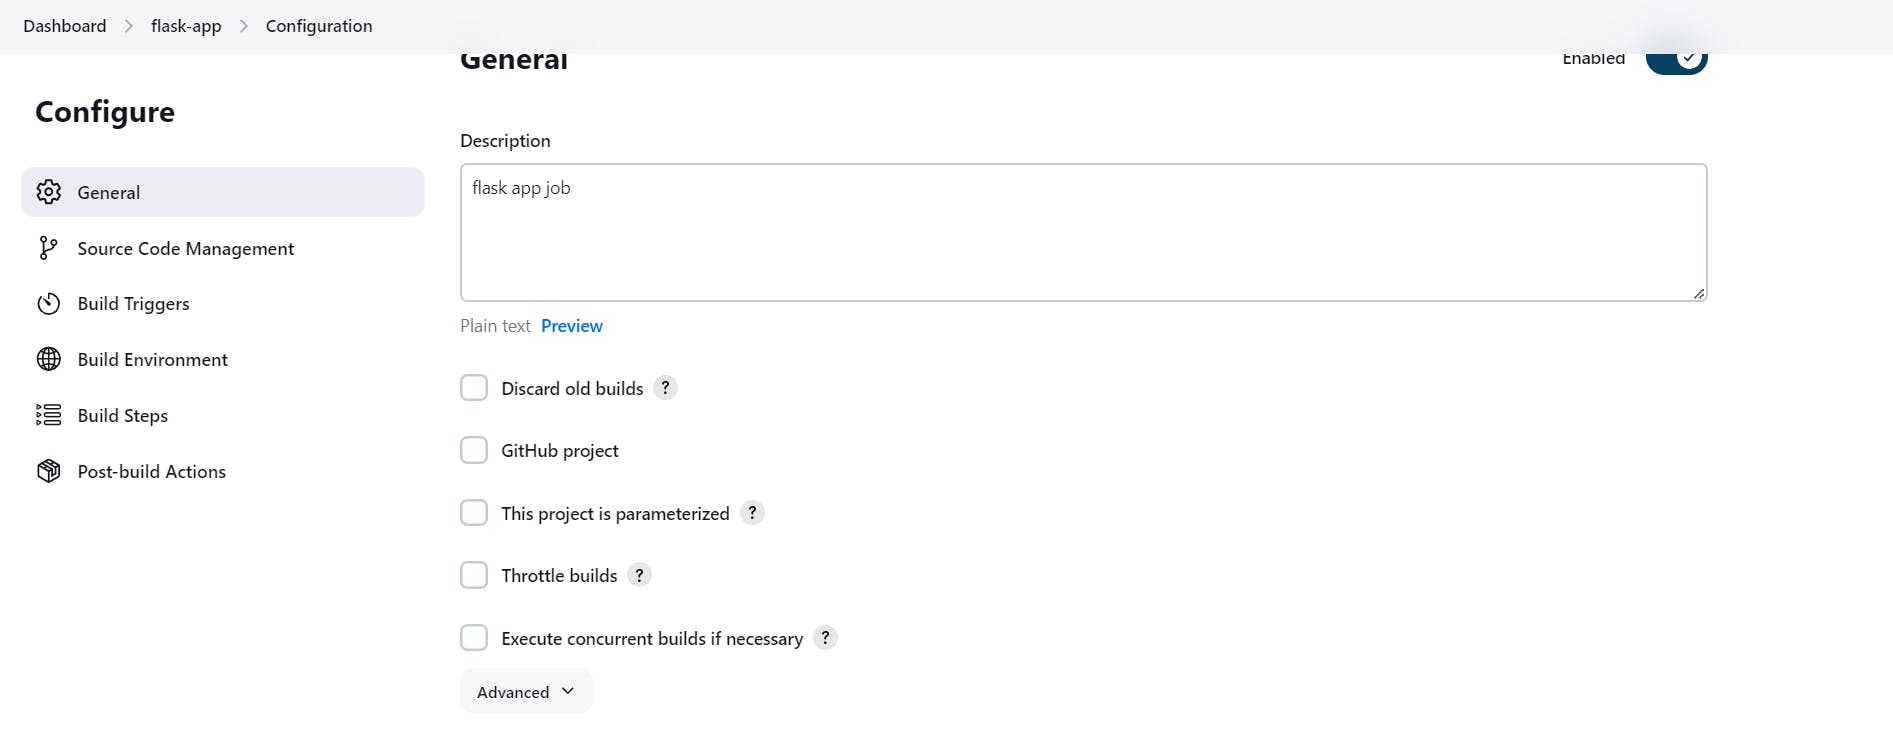


Once Job configuration is done, Build the job.
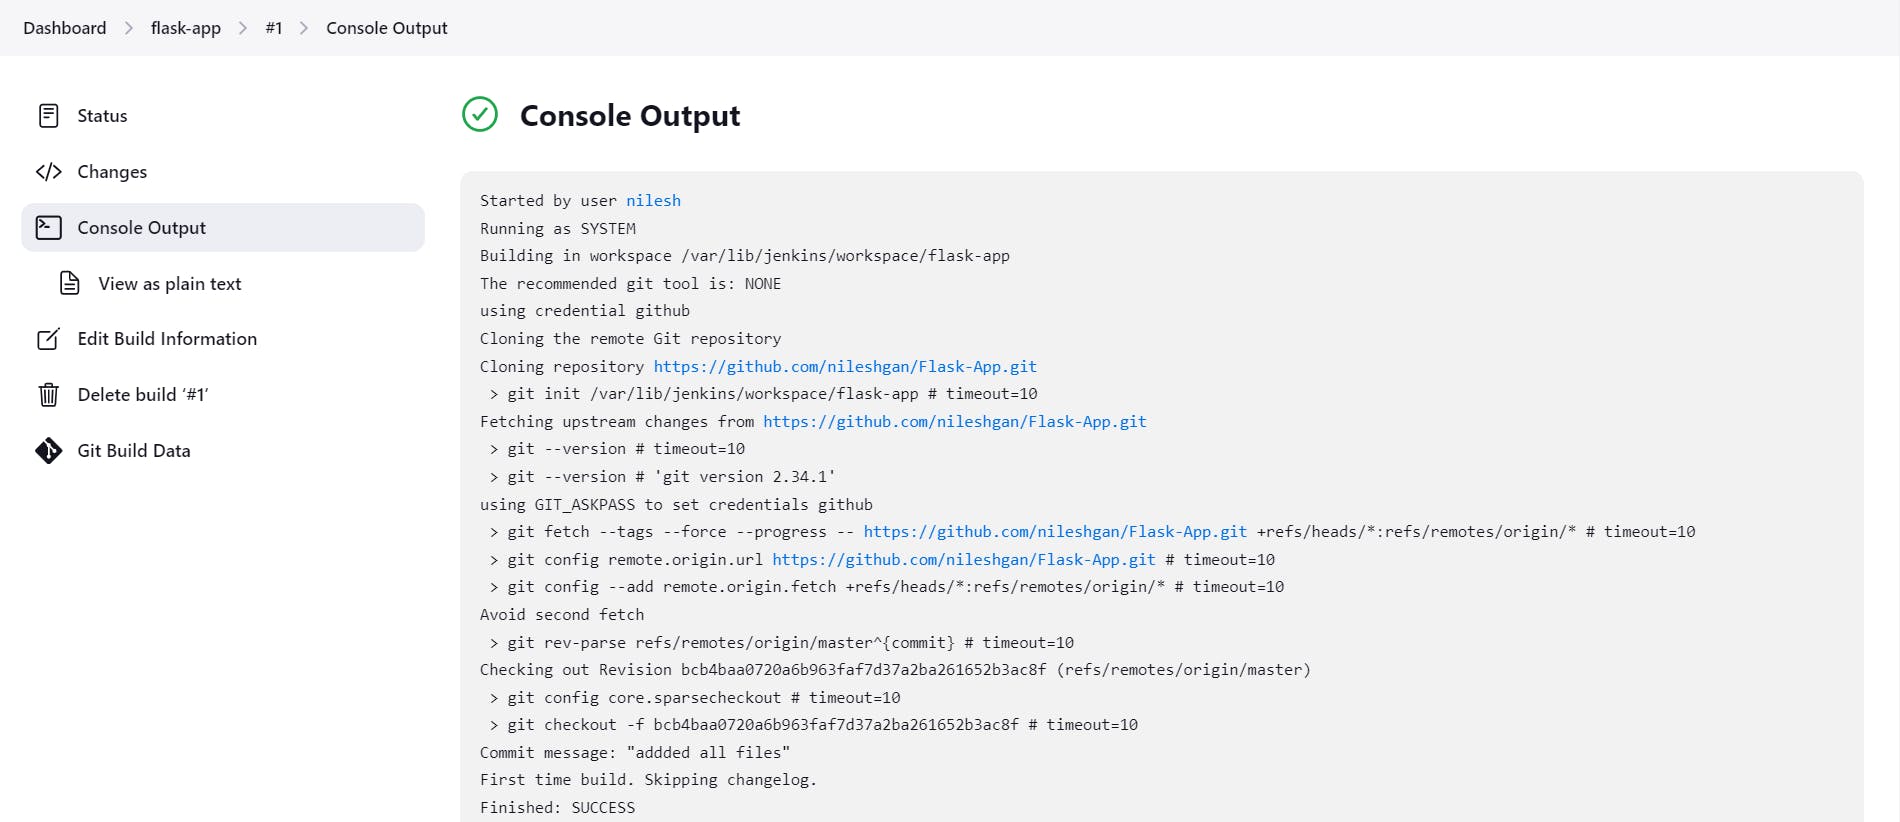
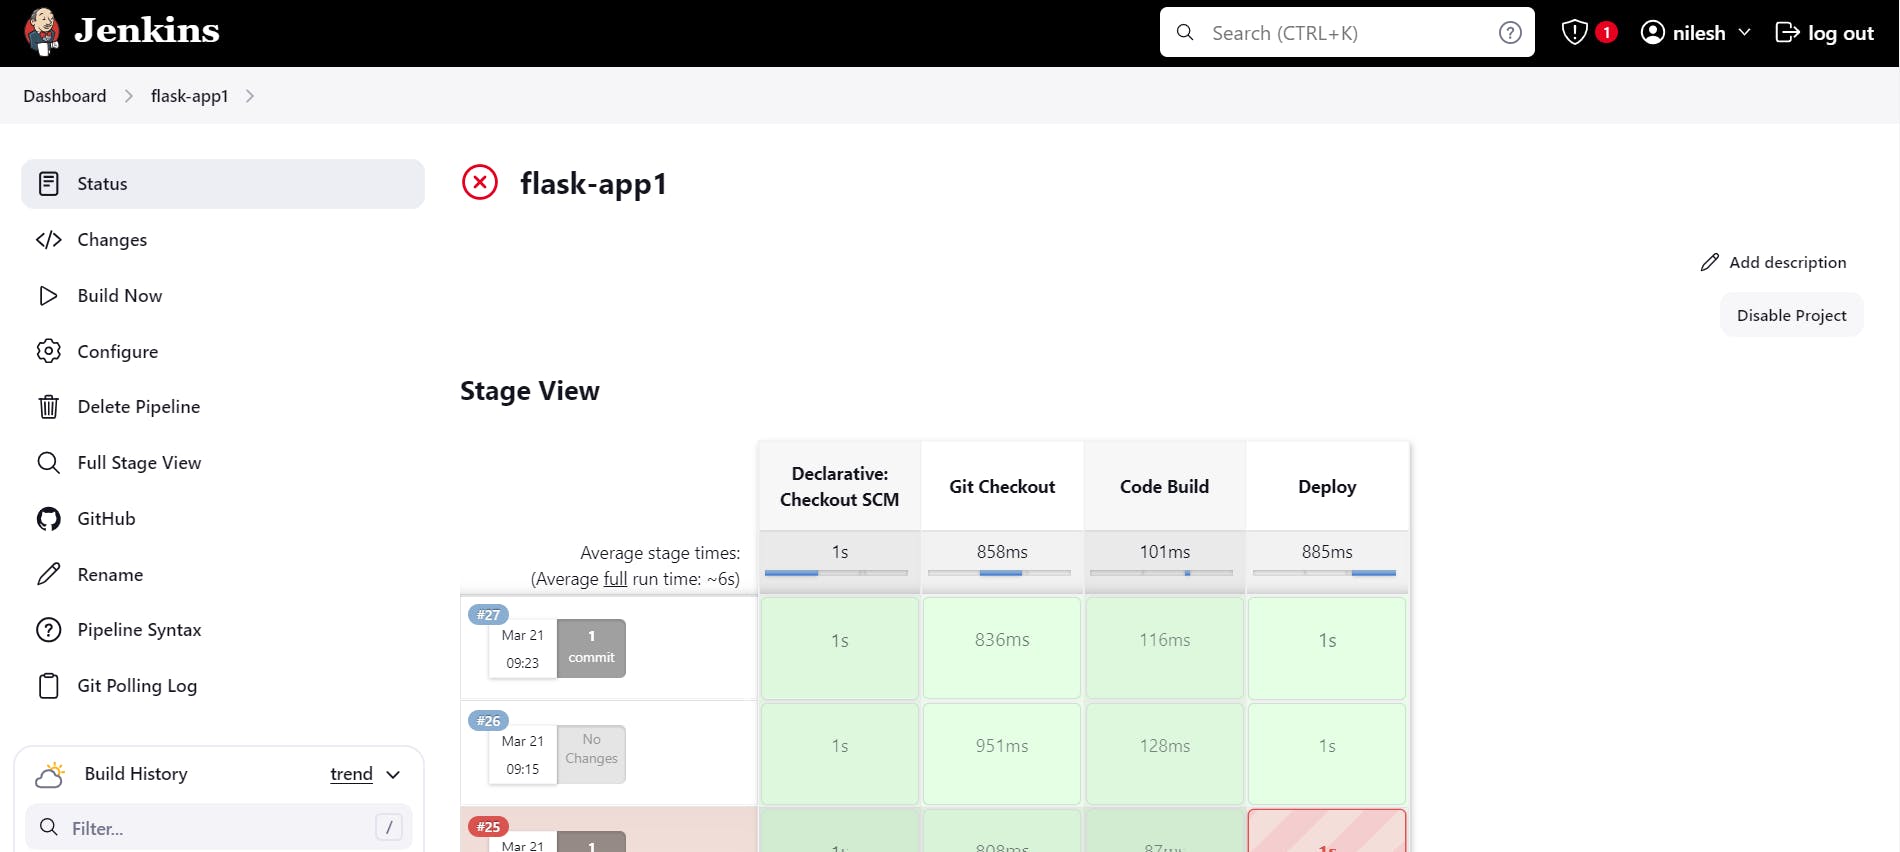
Create Jenkins Pipeline to the the flask-app job

where git credentialsId: 'github'
to create this you need to go to the Manage Jenkins --> Credentials --> Add Credentials. Need to mentioned your userid and password (add github token here).